Learn how to build Rich Media Creatives using Google Web Designer, which is fully compatible with the Google CM360 and DV360.
Contents
What is Rich Media Creative?
Rich Media Creative is an HTML5 creative which contains advanced features like audio or video components. It can also be used for expandable creatives and allows tracking multiple user events.
Standard HTML5 vs Rich Media Creative
Standard HTML5 creative
Rich Media Creative
– A single .html, .gif, .png, or .jpg file format of 200K or less – Contains no video or expansion – Usually only tracks a single click-through link
– Usually exceeds 200K – May use multiple files – May contain video – May expand to a larger size – May include detailed tracking metrics on user interactivity -May track multiple click-through links – May contain other special features (polling, send-to-a-friend, gallery, etc.)
Why you should use Google Web Designer
Google Web Designer has been build by Google to build creatives used in the Google network. So from this stand point it is logical to use it, right? Right.
But, can we use other software’s or build creatives manually? Yes.
However… Google has recently changed specifications for Rich Media Creatives, and if you want to build one on your own, you need to pay attention to the latest changes in the technical documentation.
If you prepare a creative just with a VIDEO HTML tag, it will not work. Google is now transcoding video files for better delivery performances. So you need to “wrap” your video with the Enabler component to let Google control it.
Google Enabler / Attach Video component support
What happens if I don’t add the Video Enabler module?
After you upload the ZIP file to the CM360/Studio/DV360, in the preview, you will see a black area instead of your video.
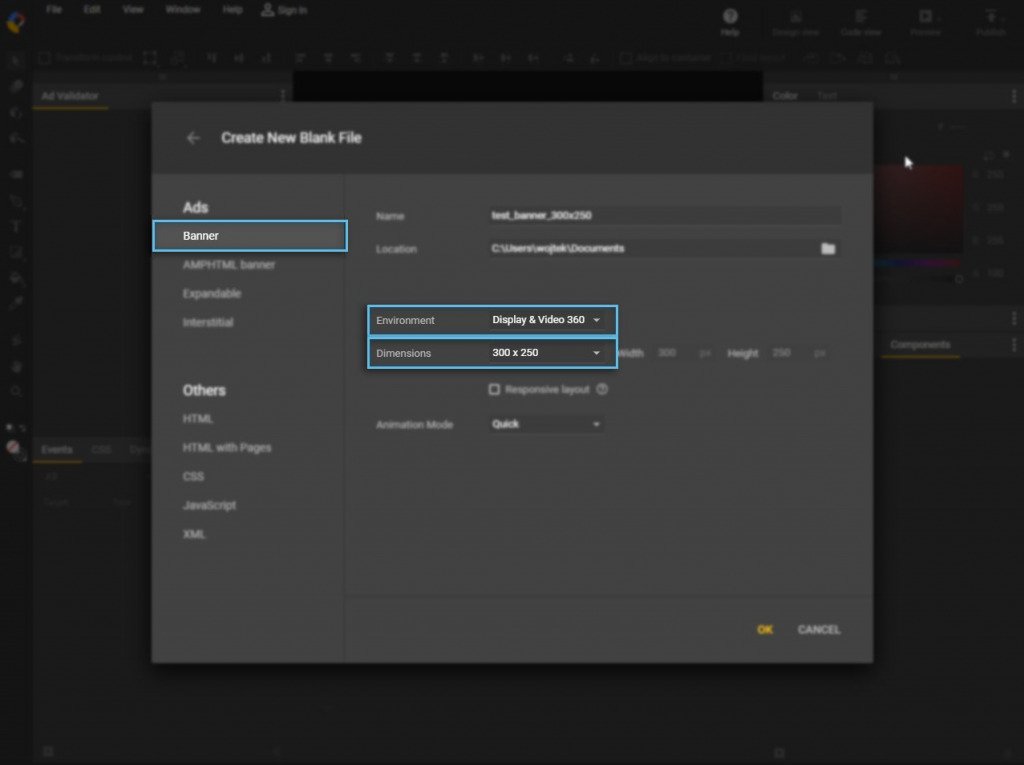
Start: New creative
If you prepare creatives for Google Campaign Manager 360 (CM360), Google Display & Video 360 (DV360) or Google Studio, you need to select Environment “Display & Video 360”.
Google has recently unified creatives specification requirements for the display network, and DV360 specification is not the correct one.
New Creative / DV360 / Google Web Designer
Build the Rich Media Creative
Now we can build our creative, for purpose of this article I’ll don’t show how to make animations, transactions, but just focus on the technical aspects.
Embed Video Component
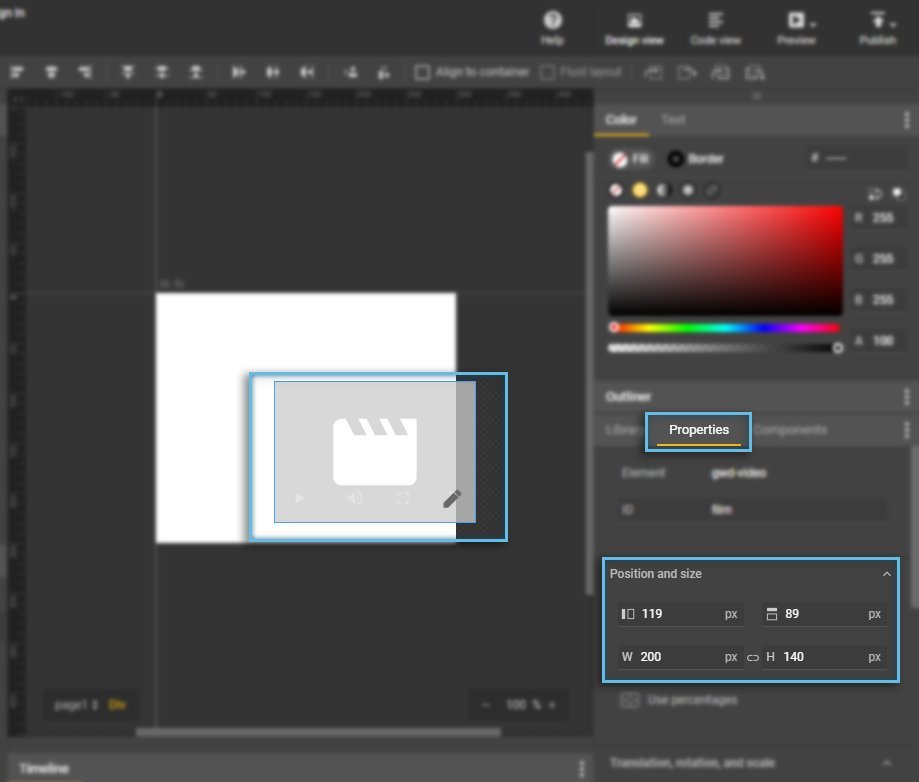
Inside of the empty project you can just simply drop your mp4 video, it is the easiest way.
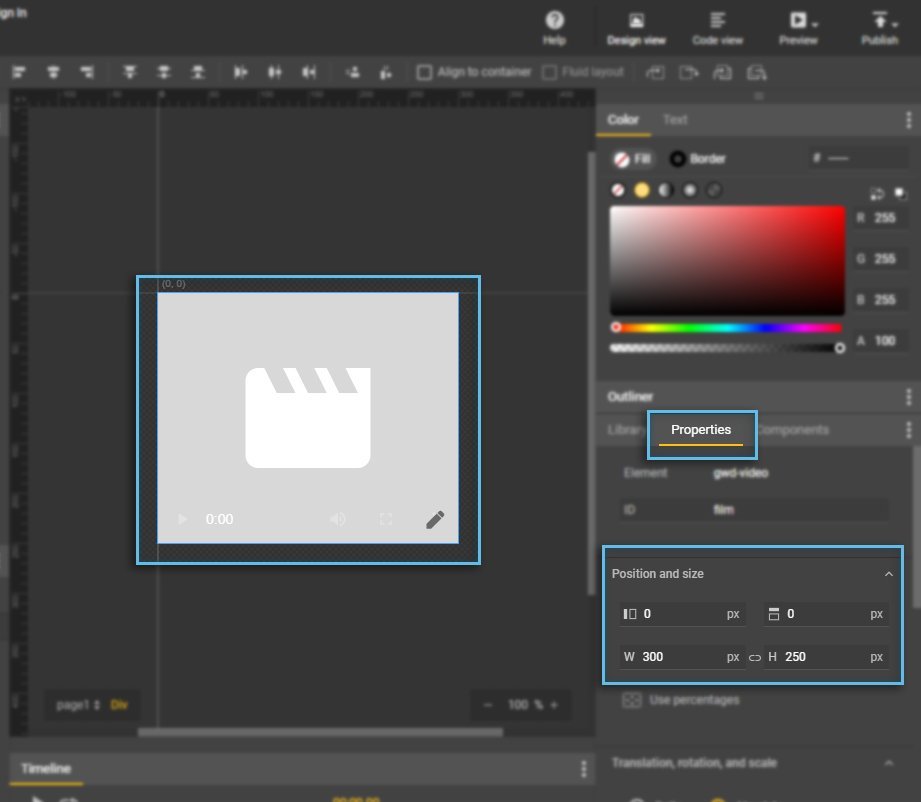
When you drop the mp4 file, you will notice that size and position of the video component is not correct. You need to select/click on the video component. Then on the left side you should find “Properties” tab, inside you will find “Position and size” section.
Video Component / Align position and size/ Google Web Designer
Remember that your mp4 video file must comply with the desktop and mobile requirements in the advertising industry.
You can not just use any mp4 file with any random export settings.
What you want (in most of the cases) is to have video in a full size of the creative.
That’s why you need to:
set X and Y coordinates to “0” (upper row marked on the image below)
set Width and Height to the exact size of your creative, in our case 300×250
Video Component / Correct position and size / Google Web Designer
Adjust video controls
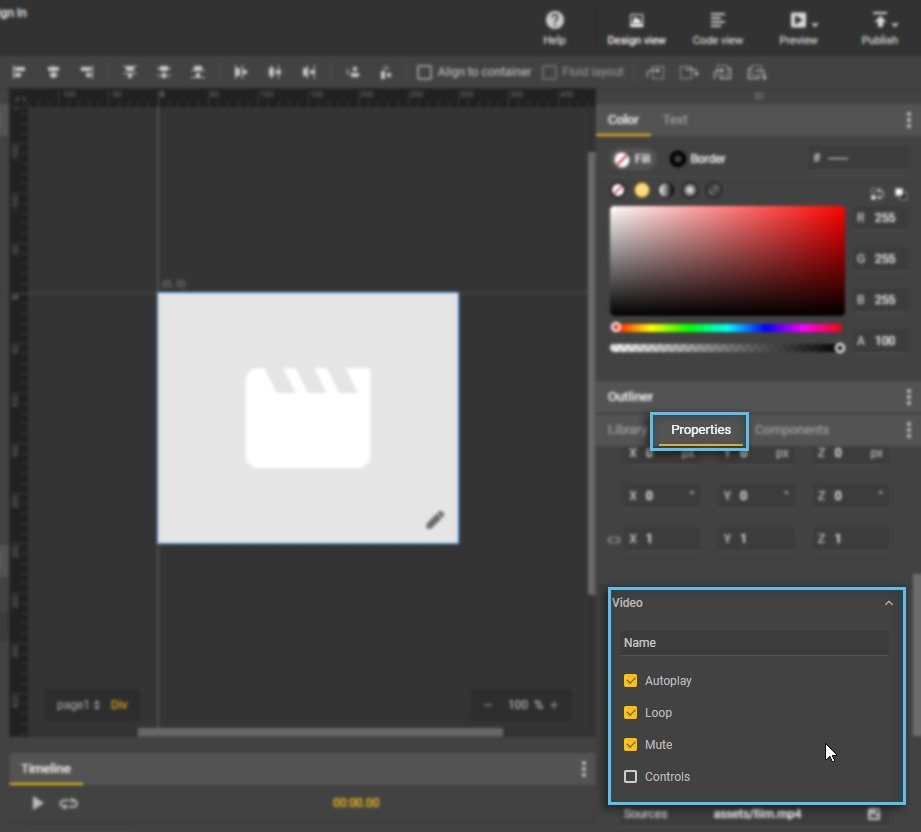
By default Video component has “Play/Stop” controls enabled. I guess it is not what we would like to see in our creative.
Under “Position and size” section, you have “Video” section. Please deselect “Controls” and enable Autoplay, Loop and Mute.
Video Component / Settings mute, controll and audio / Google Web Designer
Embed Tap Area component
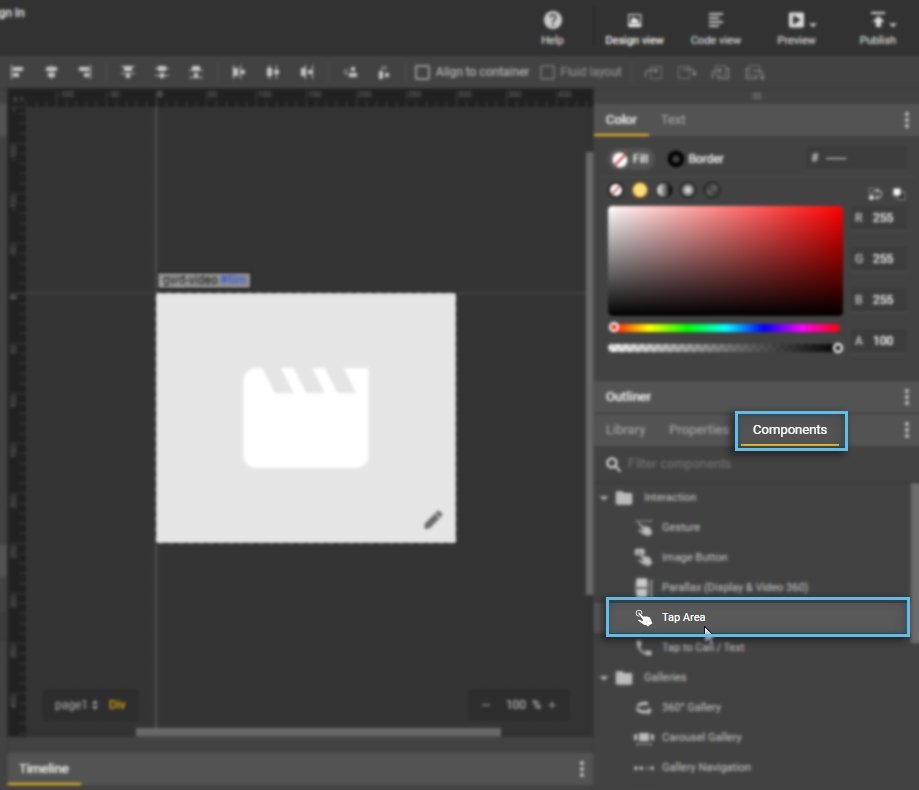
Now most important part. Our creative must be clickable.
From the Components tab, you need to drag&drop “Tap Area” component, to our creative.
Tap Area Component / Make creative clickable / Google Web Designer
Adjust position and size of the Tap Area
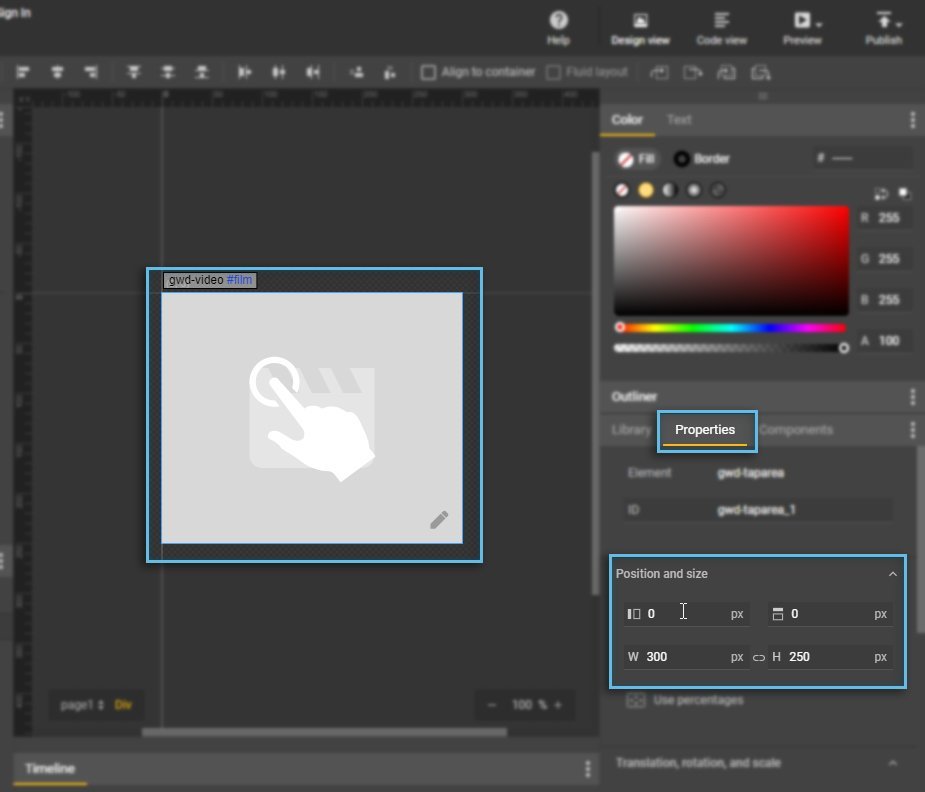
As with the Video component, Tap Area component, position and size needs to be adjusted. To cover whole area
Tap Area Component / Adjust position and size / Google Web Designer
Tap Area must be over all other components, it must be on top. DO NOT, add any animations or transitions to it, Tap Area should stay still whole time.
Assign Click Event to the Tap Area
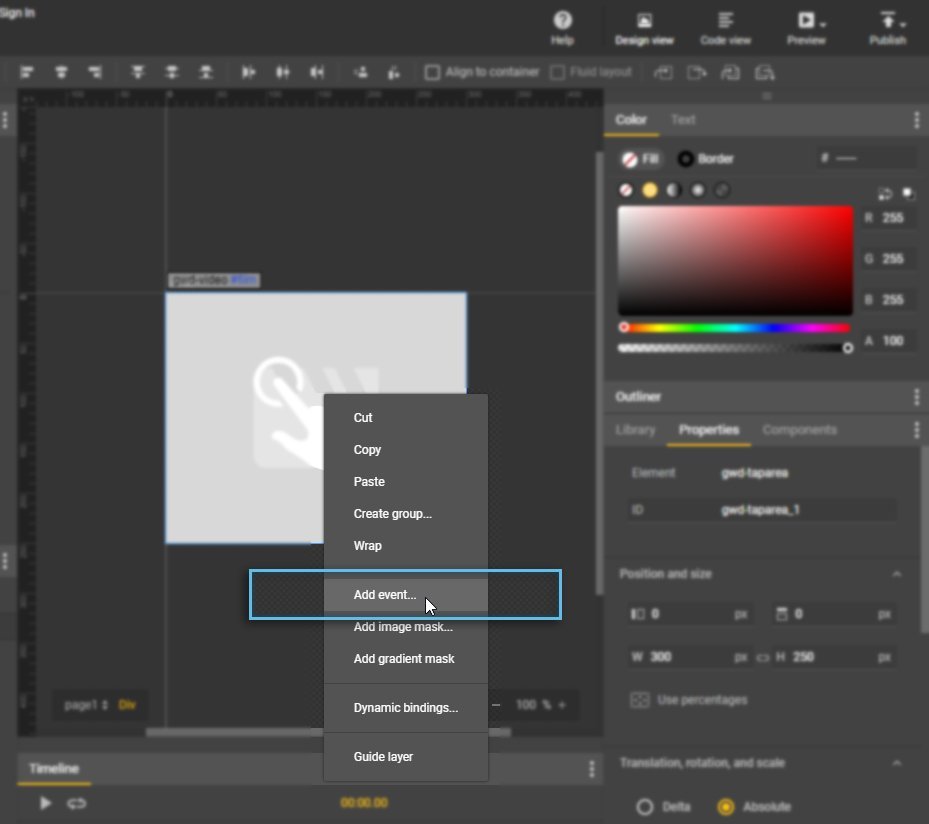
Now we need to ad an action/event from the context menu. When you have selected Tap Area component, please right click on it, and select “Add event” option.
Tap Area / Right click options menu / Add event / Google Web Designer
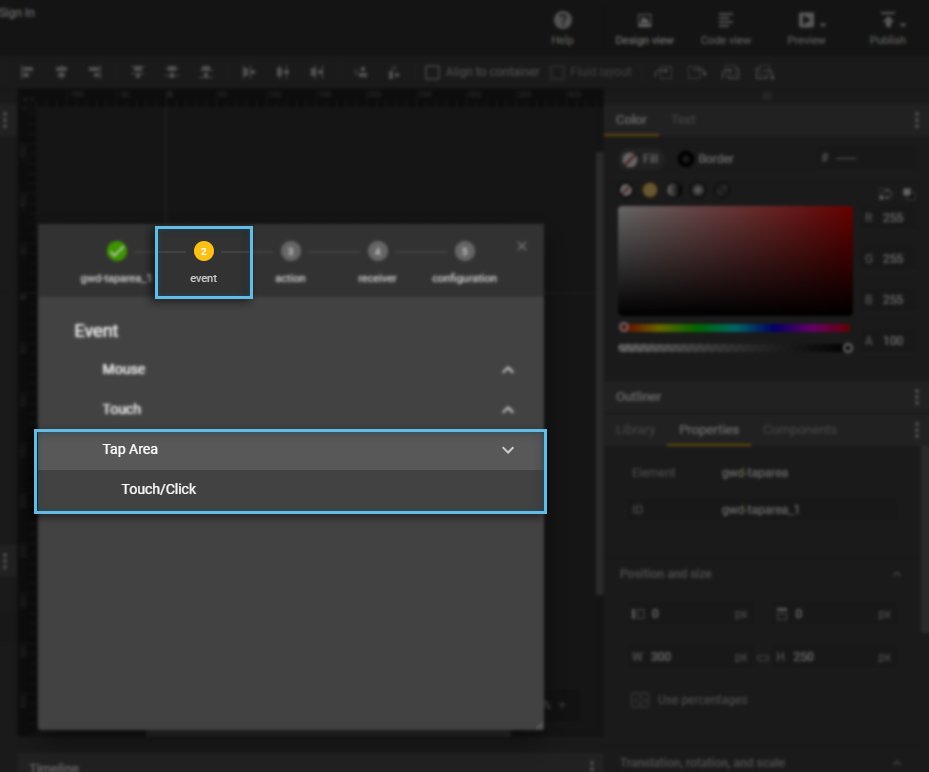
Event Section
Our creative will be used on desktop and mobile devices, so we want select “Touch/Click” option placed under “Tap Area” section.
Tap Area / Event section / Tap Area – Touch/Click / Google Web Designer
If you select “Click” option placed under “Mouse” section, your creative will not be clickable on the mobile devices.
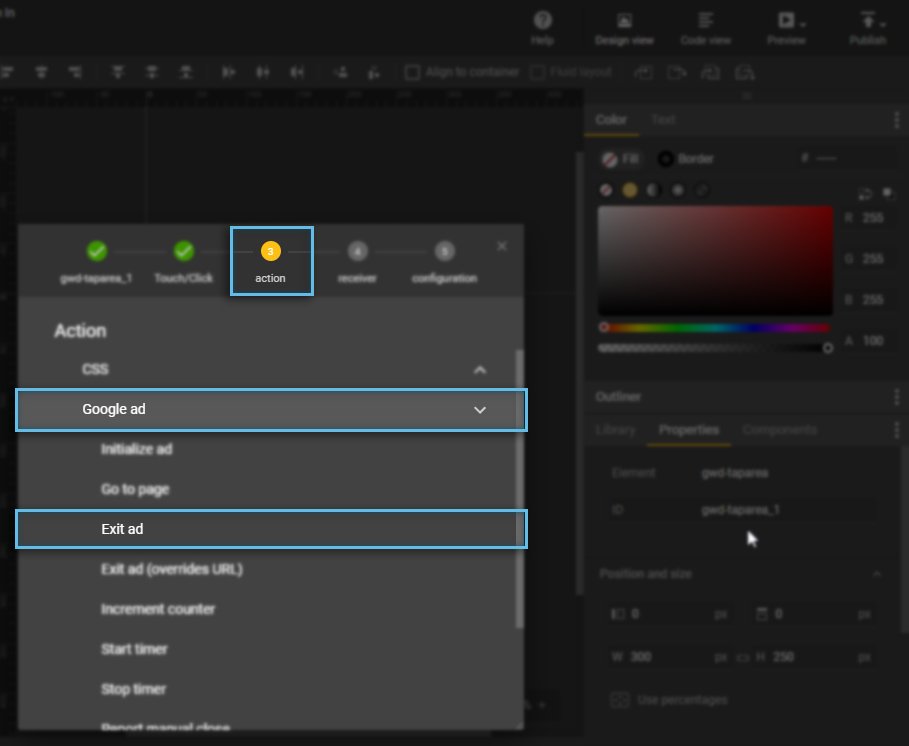
Action Section
Now we need to define action, if our goal is to prepare creative for CM360/Studio/DV360, then you must select “Exit ad” placed under “Google ad” section
Tap Area / Action section / GoogleAd – Exit ad / Google Web Designer
“Exit ad (Overwrites URL)” option should be used only for Dynamic Creative, on any other case DO NOT USE IT. Because you will not be able to control landing page from CM360/DV360 at all. You will also want see any clicks in the campaign reporting.
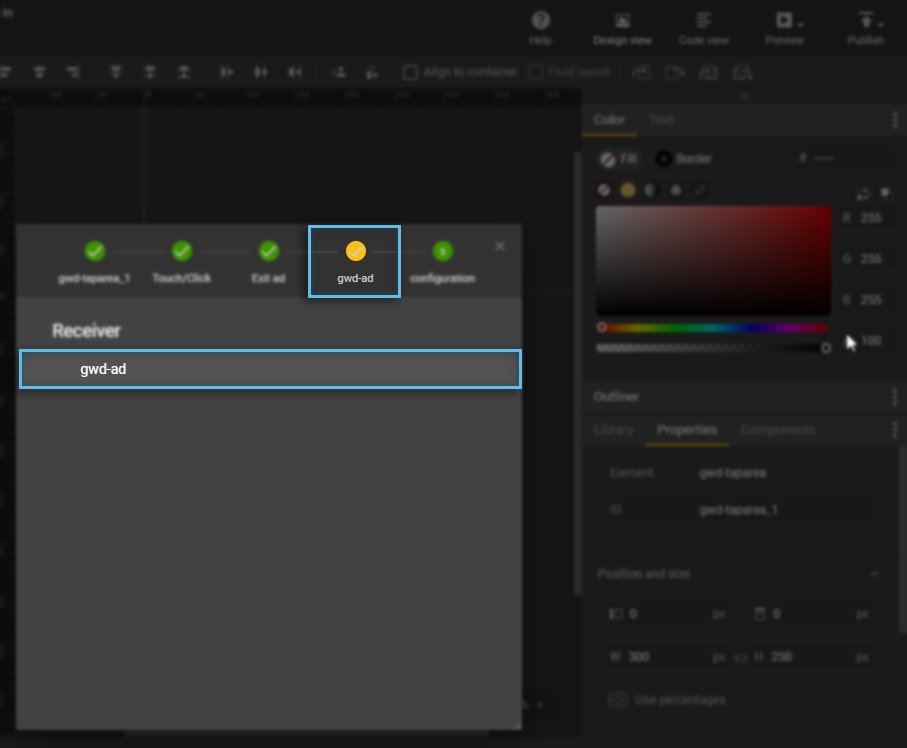
GWD-AD section
If you have simple creative you will see just one option to select.
Tap Area / Layer selection / Google Web Designer
You might see more options when you prepare for example 3D cube creative, where each side of the cube has its own “click” event. But then you must create multiple Tap Area components with separate click events.
Configuration Section
In the last section, we define how our “exit event” will be named, and what is our default URL.
Metrics ID – name of the click event, best recommendation is to use “clickTag” name. It is just a name, but it should be self explanatory.
URL – what ever URL you paste here is just will be correct, but it is recommended to use URL which should be used for the campaign.
Tap Area / clickTag settings / Google Web Designer
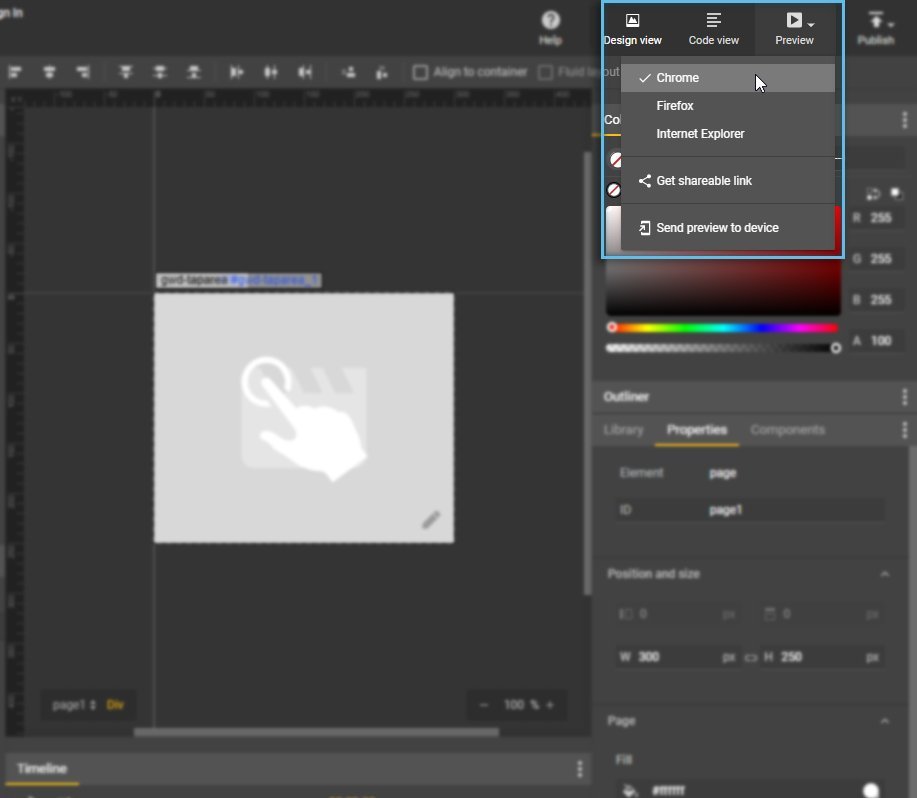
Preview
When you finish, you can check how your creative works, in the preferred browser.
Creative Preview / Google Web Designer
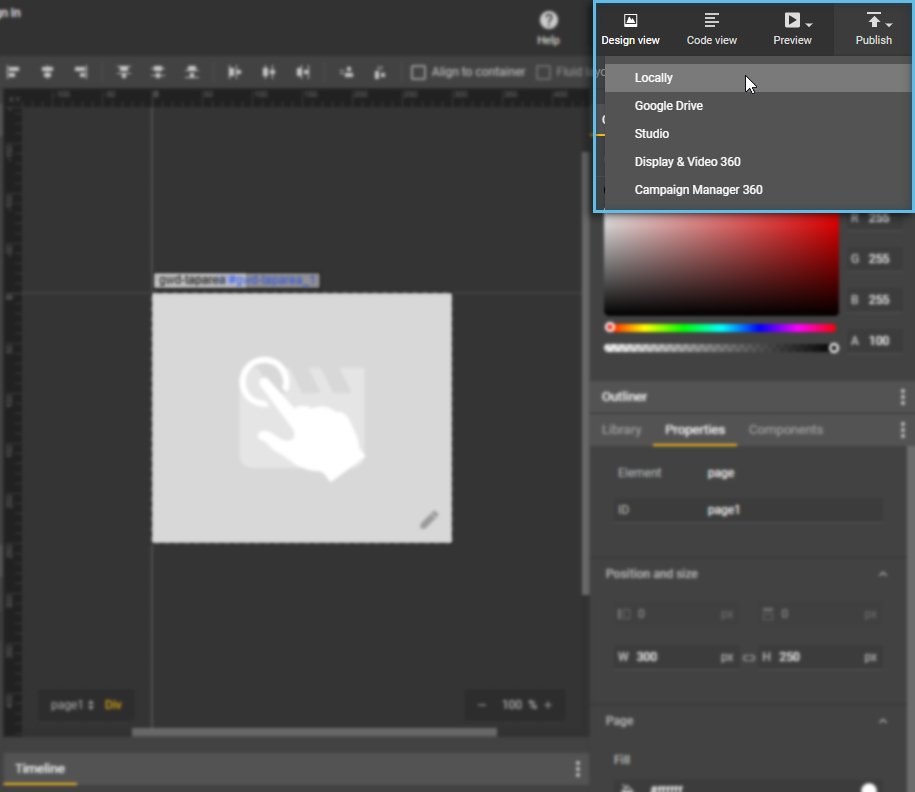
Export/Publish
When you are ready, you can export/publish creative. In most of the cases you will use “Locally” export, to create ZIP file with the exported creative.
Creative Publish settings / Google Web Designer
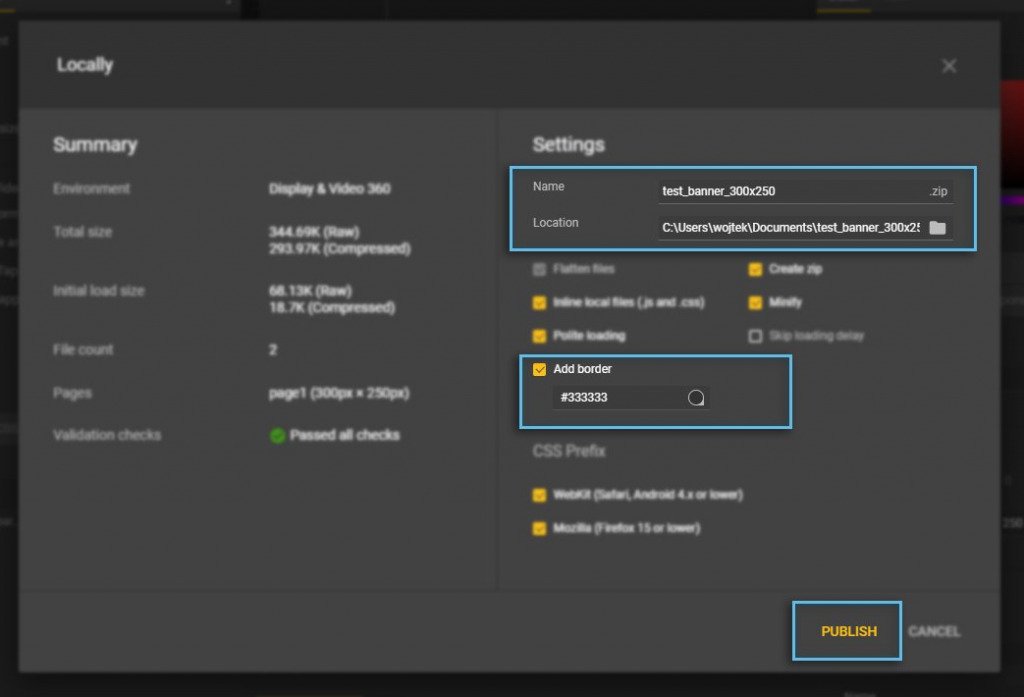
Export settings
In the publishing window, please don’t change any already selected options.
Only thing you should do is to select “Add border” option, and select color of the 1px border around the creative to let user distinguish creative from the website content.
When you have a lot of white areas, you should use dark color (light gray) of the border, if you have a lot of dark areas in the creative, you should use light color (light gray?) of the border.
Google Campaign Manager has multiple options and settings. But there is one fascinating one. With this option, you will stop using Cookies for your campaigns.